How to Master Sourdough Bread: Hydration Levels & Cold Fermentation Tips
How to Master Sourdough Bread: Hydration Levels & Cold Fermentation Tips
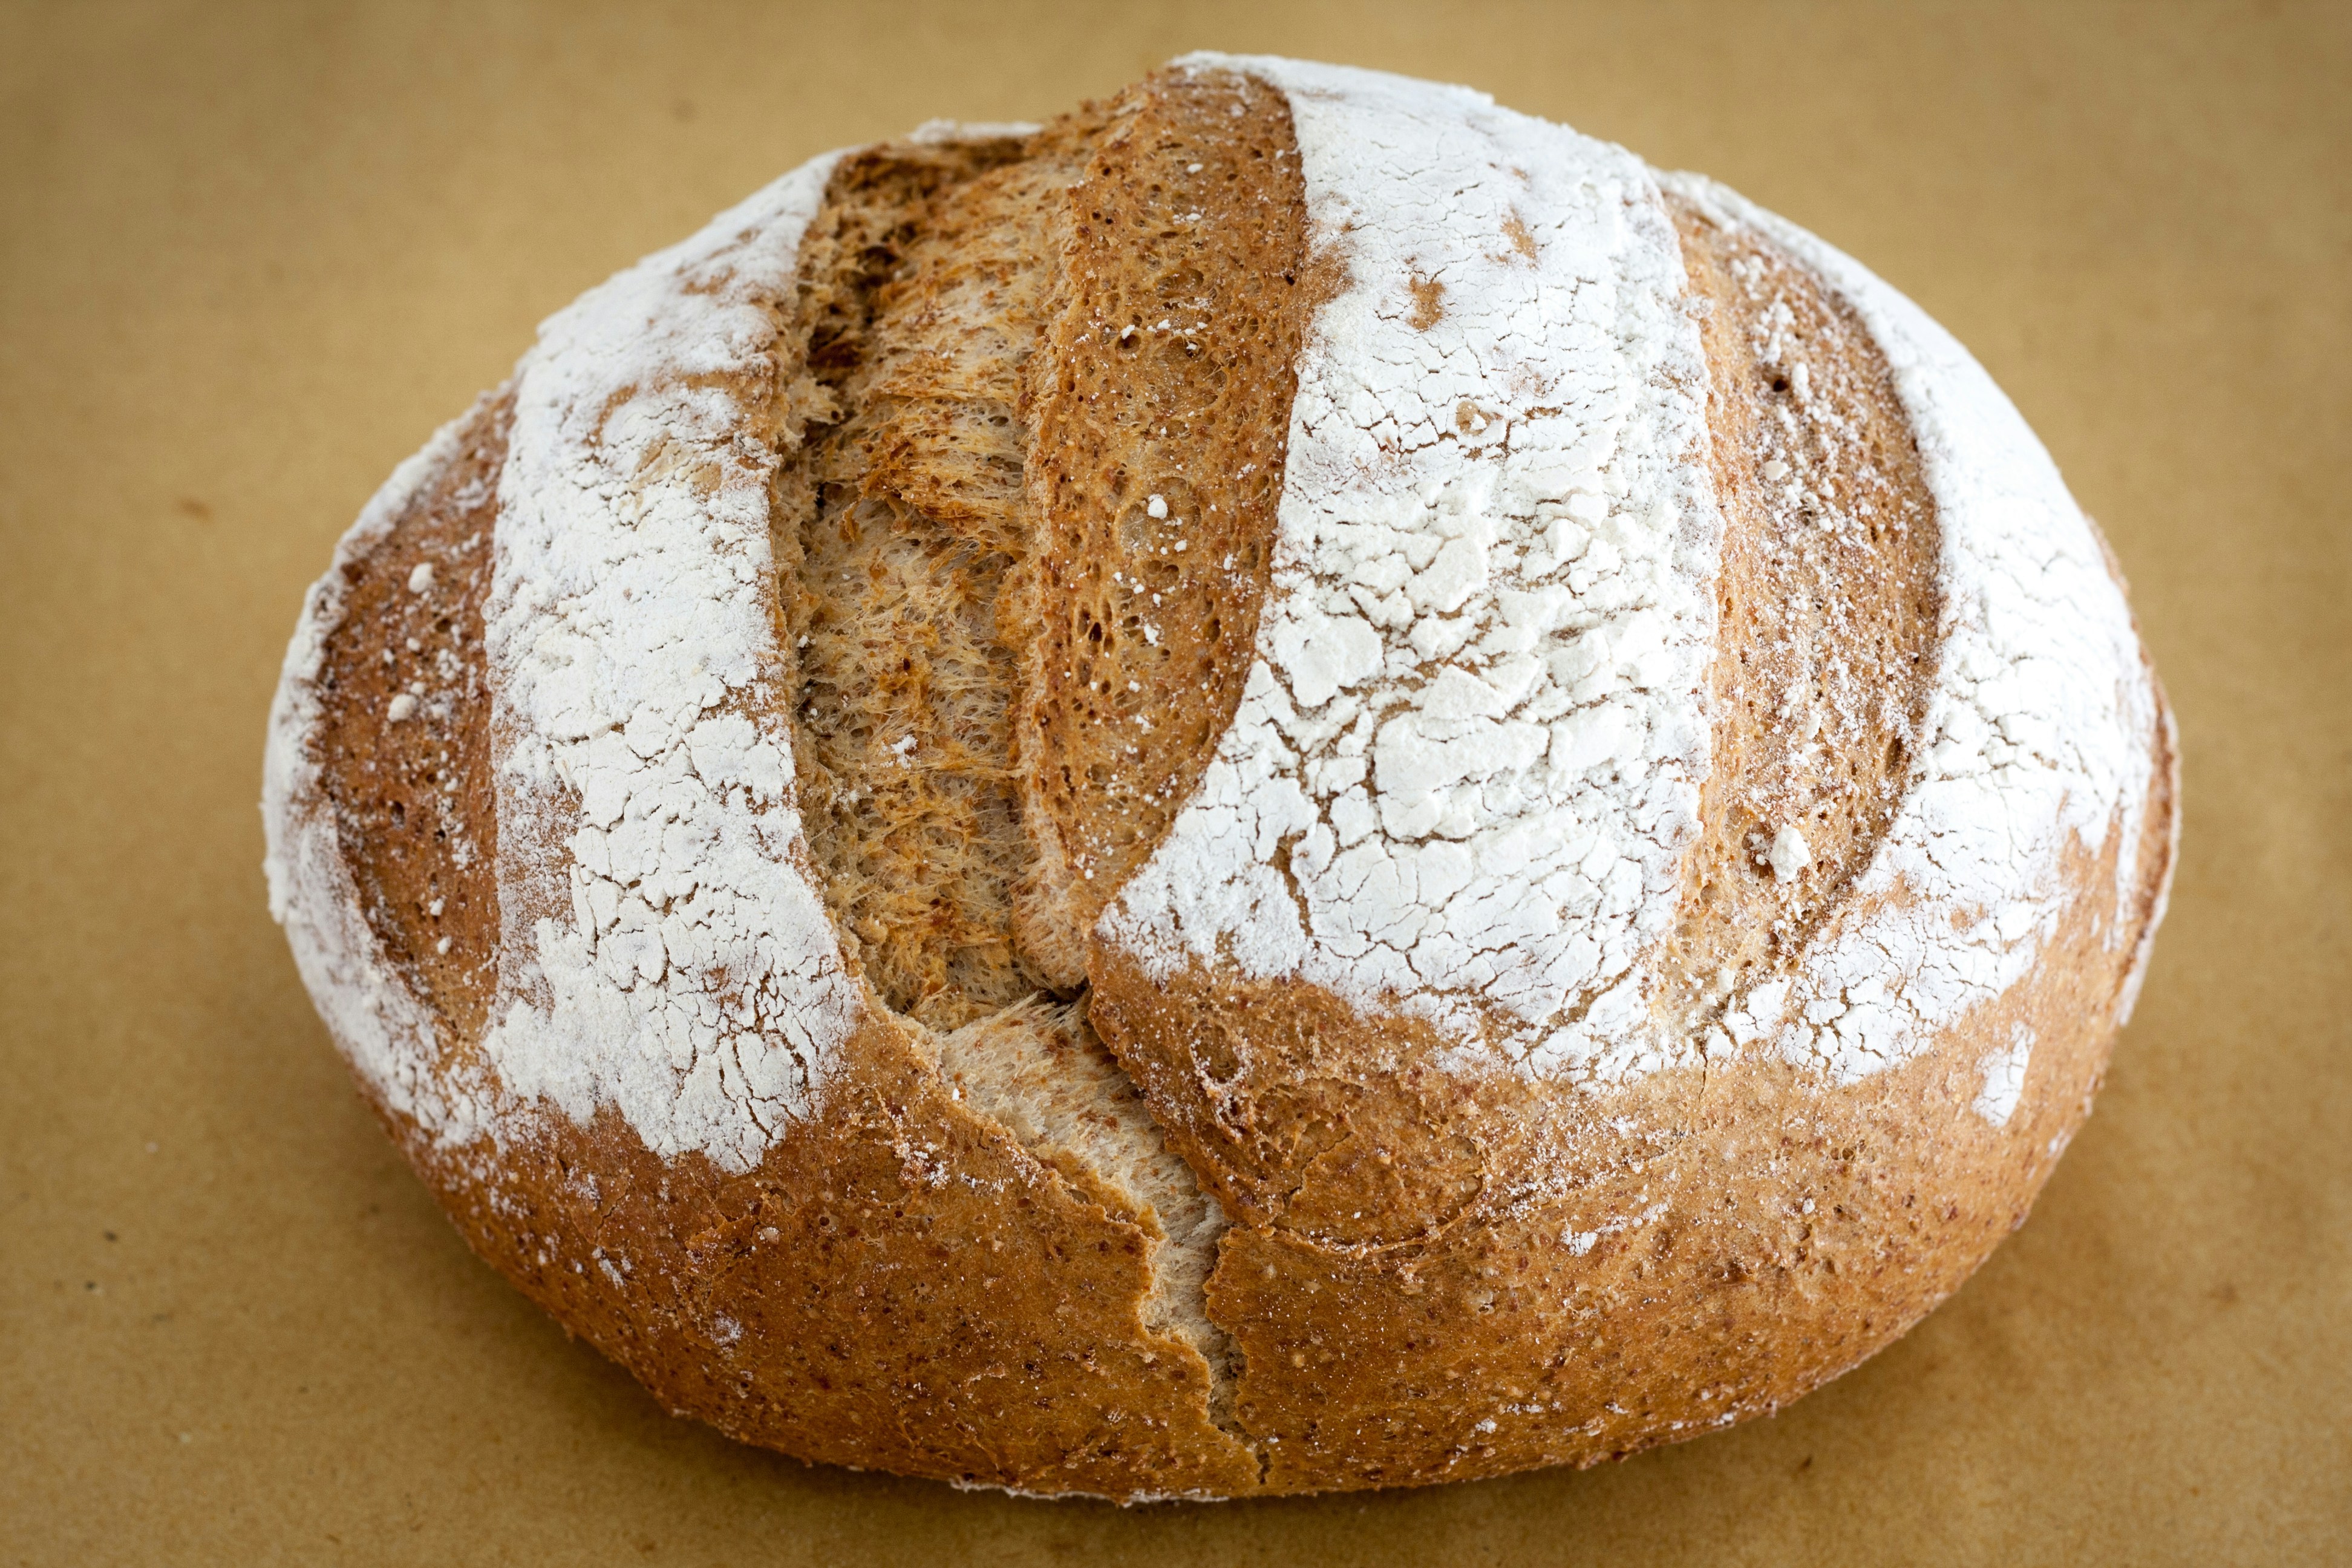
Sourdough bread baking combines art and science, with hydration levels and fermentation techniques serving as critical pillars for success. This guide explores actionable strategies to elevate your sourdough game.
Understanding Hydration Levels
What Is Hydration in Sourdough?
Hydration refers to the water-to-flour ratio in your dough, expressed as a percentage. A 75% hydration dough contains 750g water per 1000g flour.
Hydration Spectrum
| Hydration Range | Characteristics | Best For |
|---|---|---|
| 60-68% | Firm, easy to shape | Beginners, dense crumb |
| 69-75% | Balanced workability | Artisan loaves |
| 76-85% | High extensibility | Open crumb structure |
Pro Tip: Adjust hydration based on flour type. Whole grain flours absorb more water – increase hydration by 2-3% for optimal results.
Cold Fermentation Mastery
Benefits of Retarding Dough
- Develops complex flavor profiles
- Enhases gluten structure
- Provides baking schedule flexibility
Step-by-Step Cold Fermentation
- Bulk ferment at room temp (70°F) for 2-3 hours
- Shape dough and place in banneton
- Refrigerate at 38-42°F for 12-72 hours
- Bake directly from fridge
Scientific Insight: Cold temperatures slow yeast activity while allowing lactic acid bacteria to thrive, creating sourdough's signature tang (Bread Science Explained).
Combining Hydration & Fermentation
High-Hydration Cold Ferment Strategy
- Use 78% hydration with bread flour
- Extend cold ferment to 48 hours
- Maintain dough temperature using dough proofing boxes
Troubleshooting Table
| Issue | Likely Cause | Solution |
|---|---|---|
| Dense crumb | Under-fermentation | Extend bulk fermentation by 1 hour |
| Excessive spreading | Over-hydration | Reduce water by 3-5% |
| Lack of sourness | Short cold ferment | Extend refrigeration to 24+ hours |
Advanced Techniques
Autolyse Method
Combine water and flour 30-60 minutes before adding starter. This: - Improves gluten development - Enhances dough extensibility - Reduces kneading time
Stretch & Fold vs Coil Folds
- Stretch & fold: Better for lower hydration doughs
- Coil folds: Ideal for high-hydration (>75%) doughs
Sourdough Maintenance
Keep starter active with regular feedings. For detailed starter care, see Sourdough Starter Guide.
Baking Tools Checklist
- Digital kitchen scale
- Banneton proofing basket
- Dutch oven
- Lame for scoring
- Dough scraper
Final Proof Test
Use the finger dent test: 1. Gently press dough with floured finger 2. If indent slowly springs back 50% - ready 3. If springs completely - under-proofed 4. If no spring - over-proofed

Frequently Asked Questions
Q: Can I use tap water for sourdough? A: Yes, if chlorine-free. Let water sit uncovered for 12 hours to evaporate chemicals.
Q: How to store sourdough long-term? A: Freeze fully cooled loaves in airtight bags for up to 3 months. Refresh in 350°F oven for 10 minutes.
Q: Why is my crust too thick? A: Reduce baking temperature by 25°F after initial oven spring. Use steam for first 20 minutes only.
Explore more baking resources at Bread Bakers Guild of America.